Before programming, we have to set up few libraries for python that we would use in our program, the followings are the libraries we need:
OpenCV: OpenCV is an open source libraries for computer vision. It contains so many functions for vision task. In our project, we use video and image I/O for read/write images and videos. Here is the official website:
http://opencv.org/
Also, there’s a website teaching how to install opencv on Raspberry-Pi:
In addition, we suggest for the installation for NumPy. NumPy is a package for some scientific operations with python. In this project we process with images and videos, images and video frames are given in array or matrix forms. So there would be many matrix or array operations and NumPy would be a convenient way to deal with. Here is the official website for NumPy:
http://www.numpy.org/
Pygame: Pygame includes many useful interfaces and convenient functions to design your own games with python. In our project, we use pygame as an interface to draw the screen on piTFT. Here is the official website:
http://pygame.org/hifi.html
Besides, if we want opencv libraries could support more video format, we can install FFmpeg. Remember to install FFmpeg before installing opencv. Here is the official website for FFmpeg:
https://www.ffmpeg.org/
Design
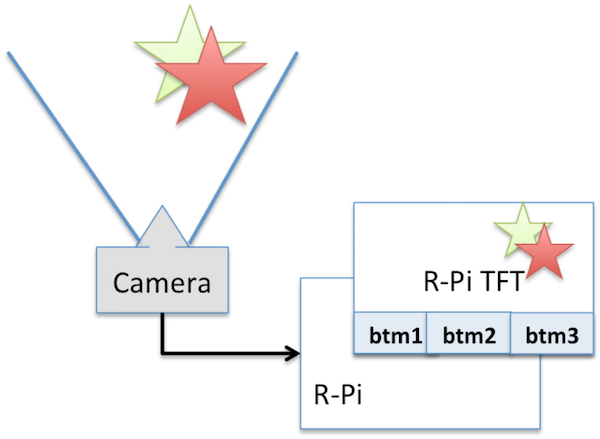
Figure 1. the system architecture
There are two parts of the system design based on the python language:
1. The image data extraction and processing
Firstly, we installed the openCV library in the R-pi and utilize the default data structure and functions of openCV to save and process the image data taken by the camera module. Considering the screen resolution (320*240) and image quality, we down sample the size to 640*480 for restoring and 320*240 for showing on the screen.
In addition, we can create some special effects on the saved images, e.g., to change the pixel value of RGB color space and produce special effects on the images. Furthermore, the more advanced applications, such as face recognition and motion detection in surveillance system can also be realized. For image processing, we support two types of photo style: One is vintage style, and the other one is pencil sketch style. For vintage processing, we perform operations on RGB color space. We calculate the new RGB values for each pixel by weighted sum of the original RGB values. The equations are listed as follows:
For Mosiac style, we operate only on grayscale image. First we separate the image into several blocks and compute the intensity histogram within its own block. Then we rescale the range for each block to 0~255.
2. The interface of operation system
We introduce pygame library to help build our operation platform. The image shown on the screen could be viewed as a “screen surface” where we can attach all images we want on it. For example:
a. The image data extracted by openCV can be attached on the screen surface and keep updated. Thus we can see the real time image taken by camera.
b. The storing images and images with post-processing can be attached on the screen surface.
c. The control buttons can be drawn and attached on the screen surface. Besides, the alpha value (transparency level) is tunable, so the buttons will not shelter the background image.
The mode tags are designed for users to switch to different modes. There are totally 7 modes in our system and the detail functions will be covered in the testing section. When users touch the buttons on the screen, the pygame event would be triggered and system will check the touching location to decide which function should be called. For instance, the delete, taking picture commands can be performed or the mode tag can be changed and then system jump to another operation mode.
Testing
We will go through each operation mode and test all the functionalities here.
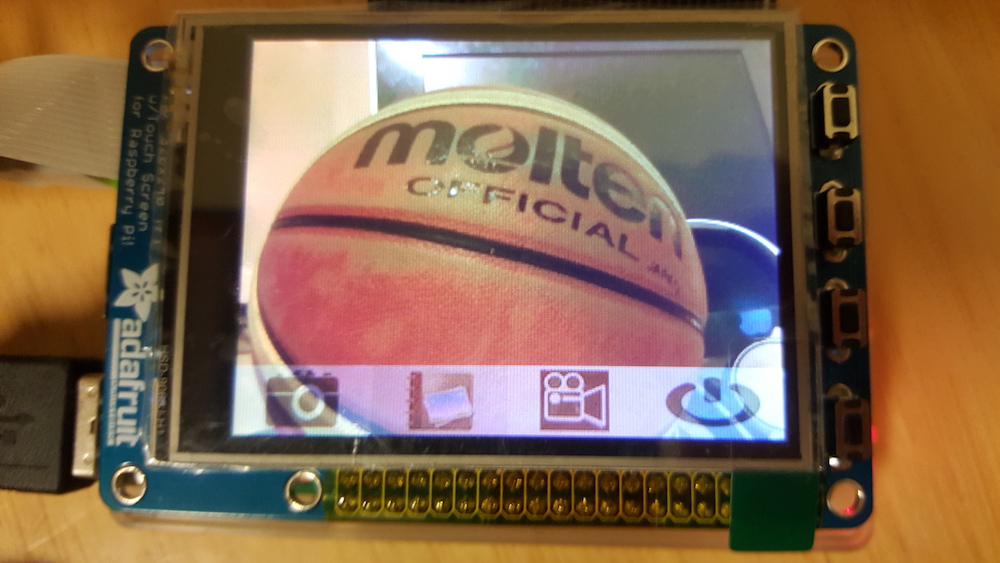
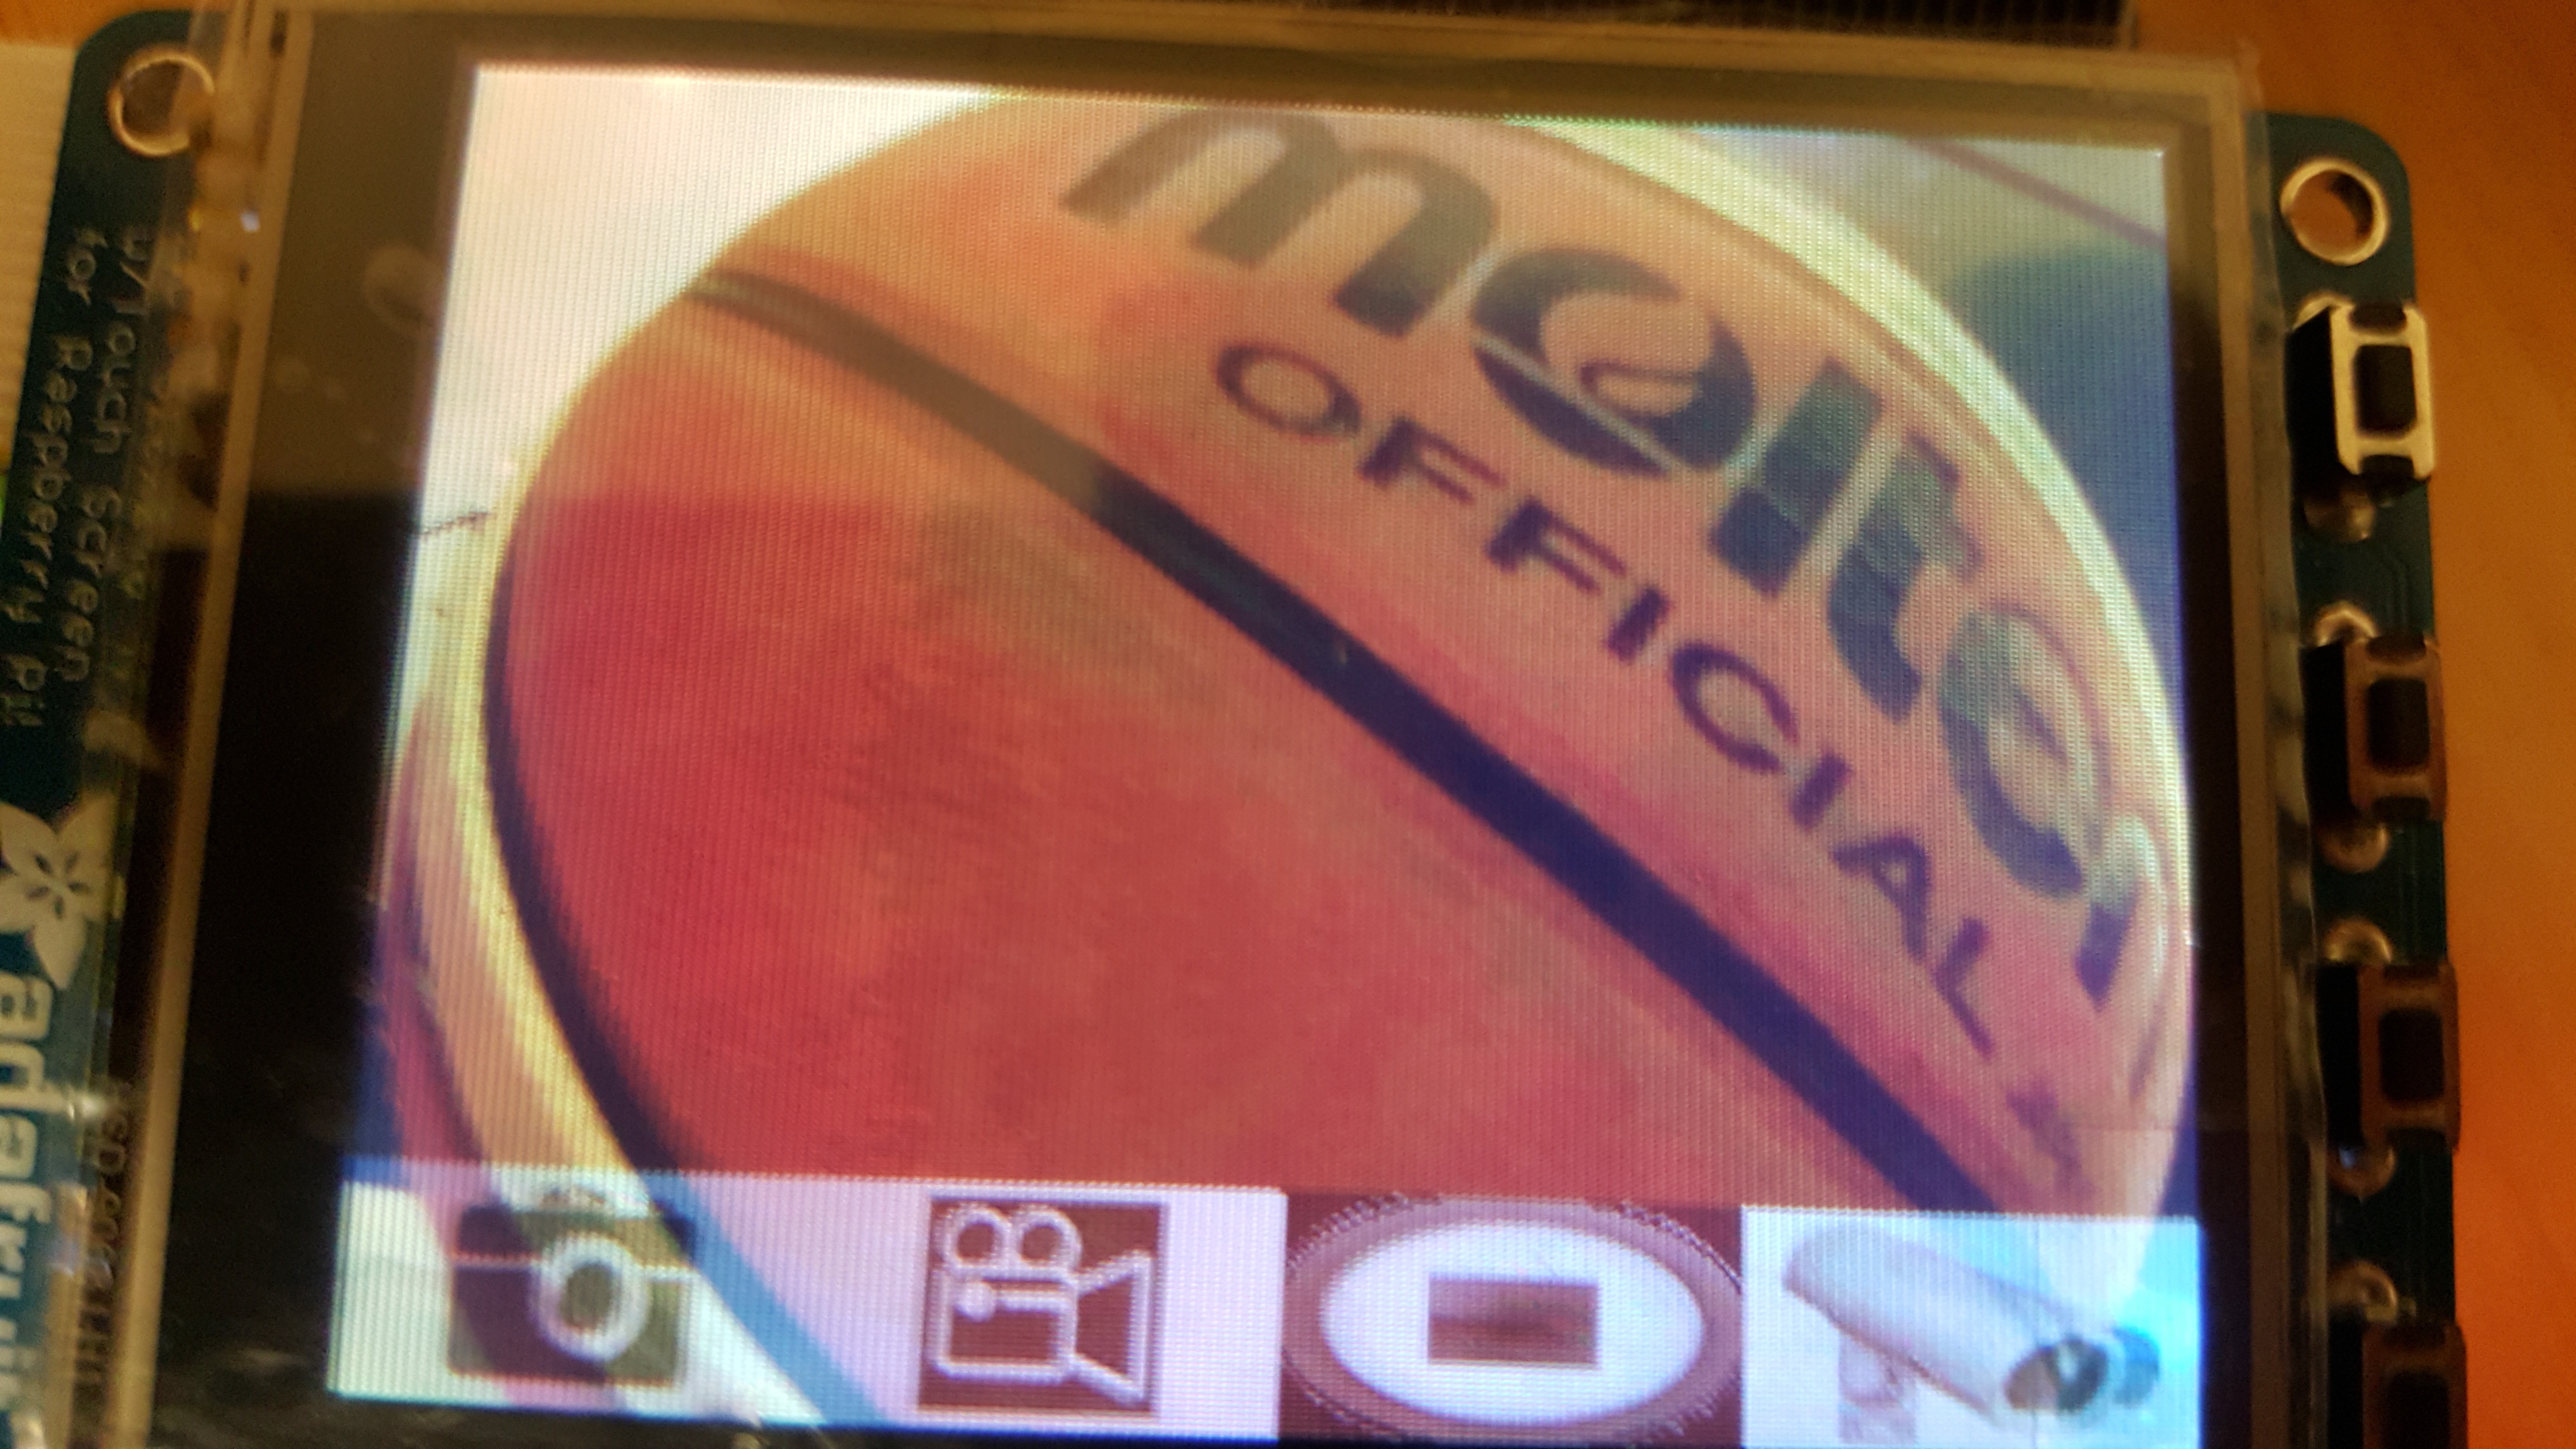
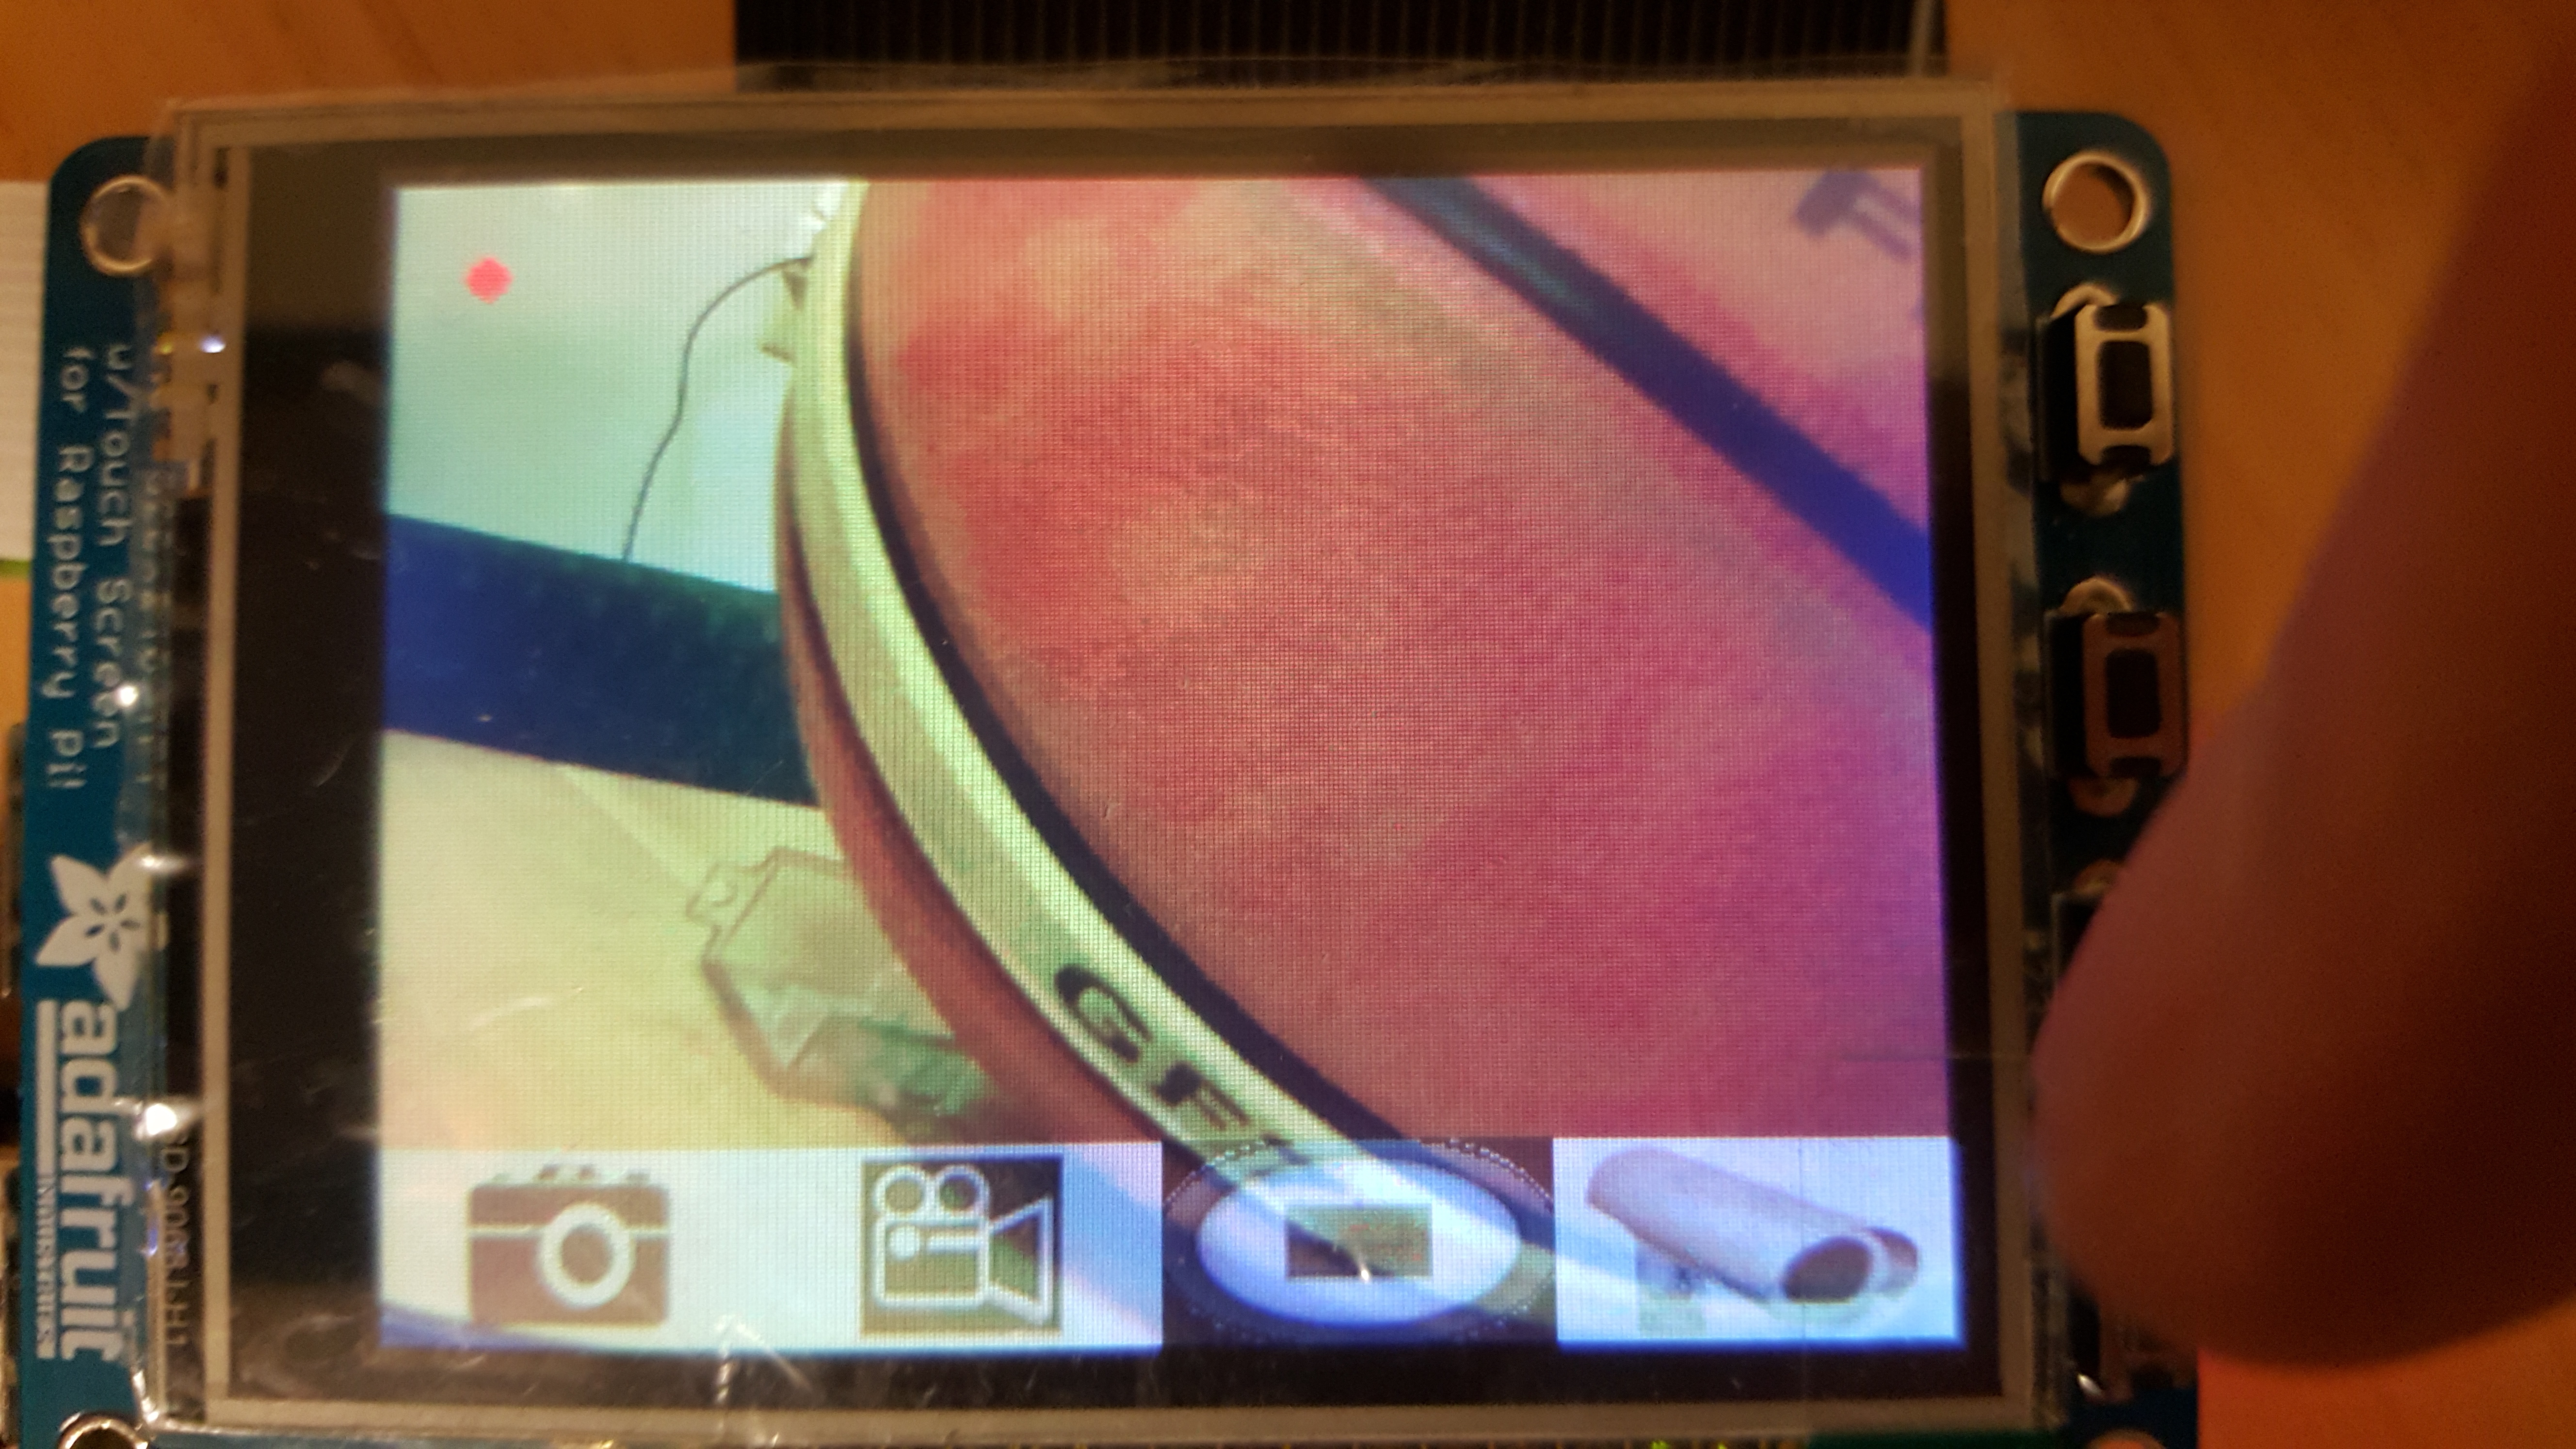
Mode 0: free viewing Mode 0 is the first mode when turning on the system. The image shown on screen is captured from the camera. Because the image would be kept updating, it would be the real time image. There are 4 buttons at the lower part of screen. (from left to right)
The first button: to take a picture and enter shot photo mode (mode 1)
The second button: enter the selection of album mode (mode 5)
The third button: enter video mode (mode 4)
The fourth button: close system and quit
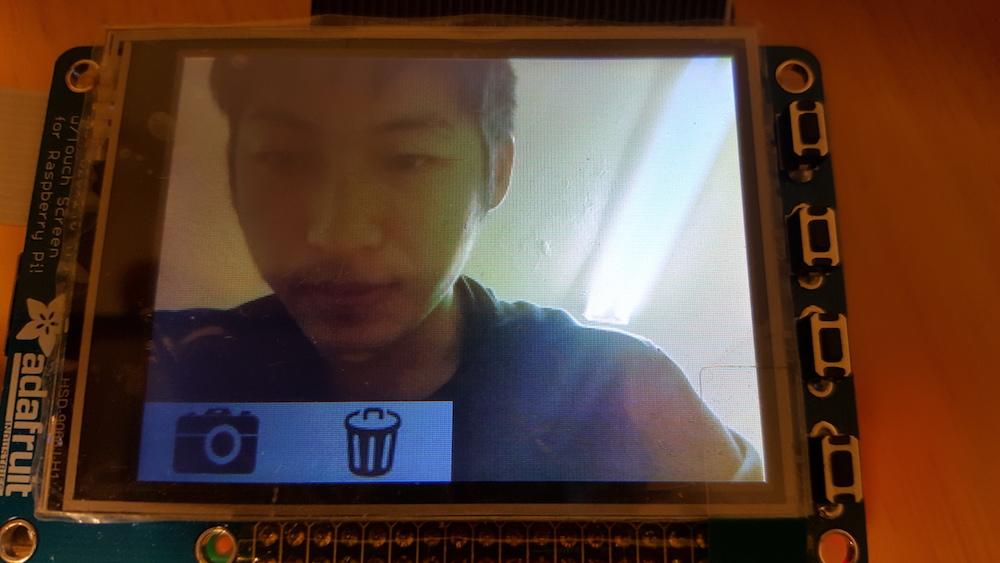
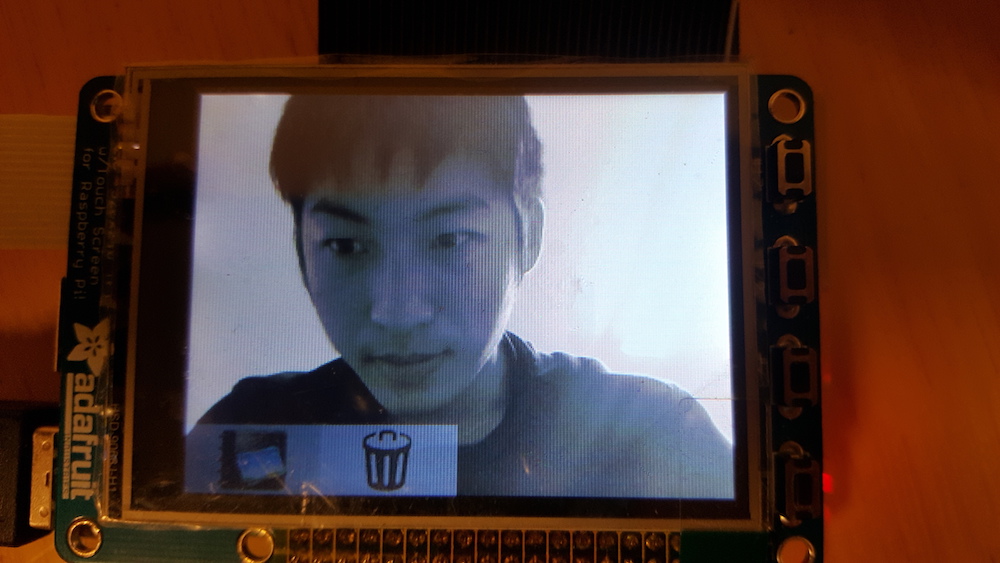
Mode 1: shot photo mode After pressing the taking picture button, the system will enter mode 1 and show the taken picture on screen. Users can decide save this picture and go back to free viewing mode or delete this picture right away if users do not like this one. There are 2 buttons here. (from left to right)
The first button: save image and return to free viewing mode (mode 0)
The second button: delete the image and return to free viewing mode (mode 0)
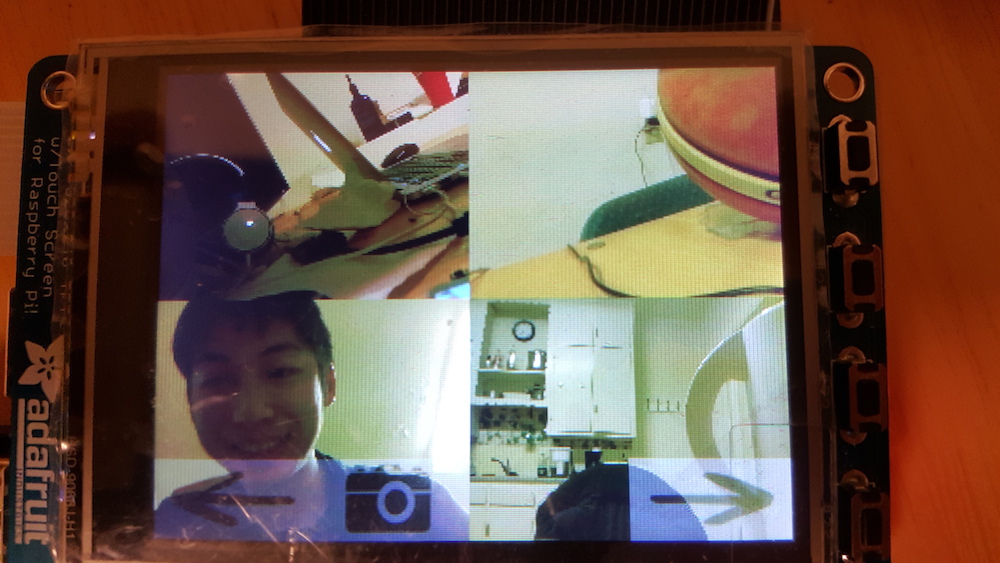
Mode 2: photo album In the selection of album mode (mode 5), users can choose to enter the photo album mode (mode 2) to review the taken photos. There will be 4 photos showing on the screen at one time, and the photo can be chosen and shown on whole screen by directly touching it. Besides, 3 buttons could be use to switch to next or previous page and go back to free viewing mode (mode 0). (from left to right)
The first button: go to previous page
The second button: return to free viewing mode (mode 0)
The third button: go to next page
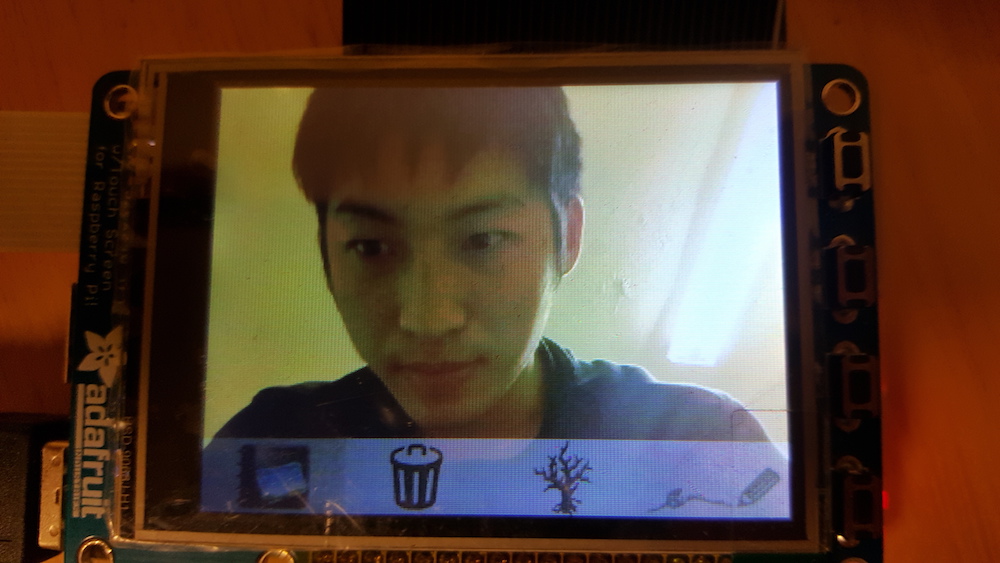
Mode 3: photo album single mode When users choose the interesting photo by touching it in photo album mode (mode 2), the whole picture would be enlarged on whole screen. Therefore, users can carefully check the image detail. Moreover, the there are two special image processes can be utilized to modify the photos! Below is the total function for 4 buttons: (from left to right)
The first button: return to photo album mode (mode 2)
The second button: delete this photo and return to photo album mode (mode 2)
The third button: produce the “vintage effect”; save and enter processed image mode (mode 8) to show the processed photo on the screen
The fourth button: produce the “mosaic effect”; save and enter processed image mode (mode 8) to show the processed photo on the screen
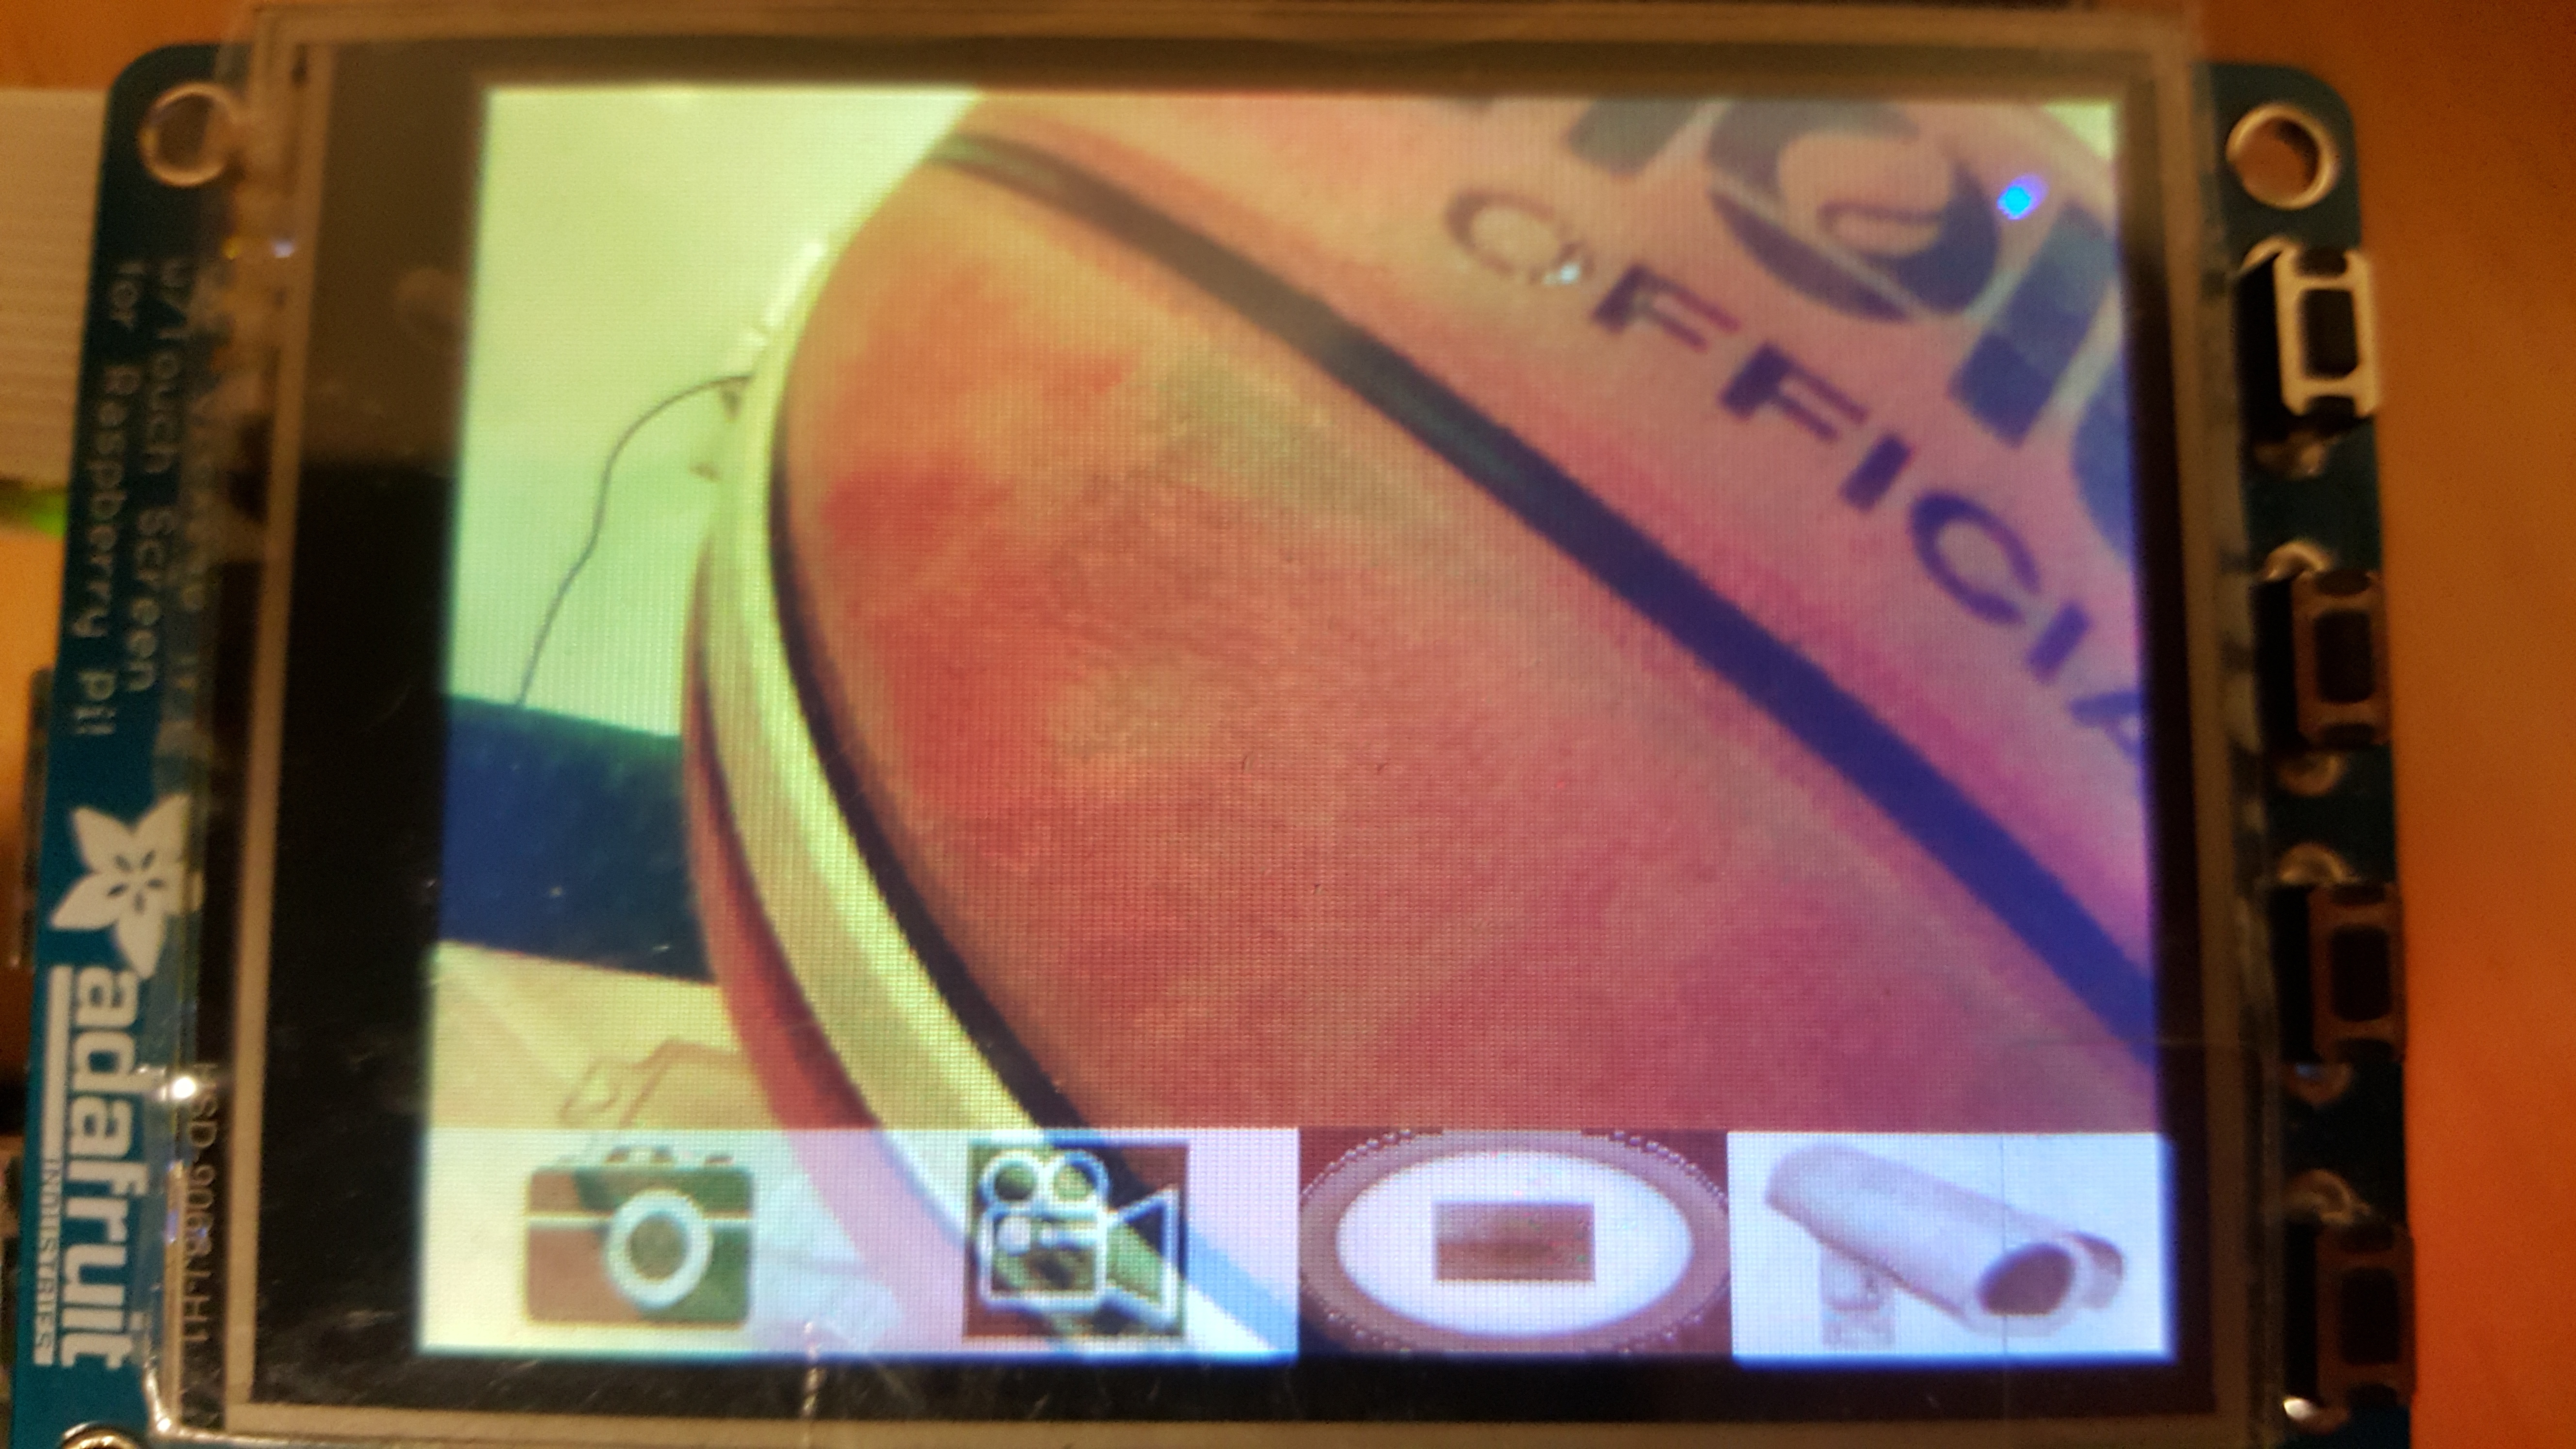
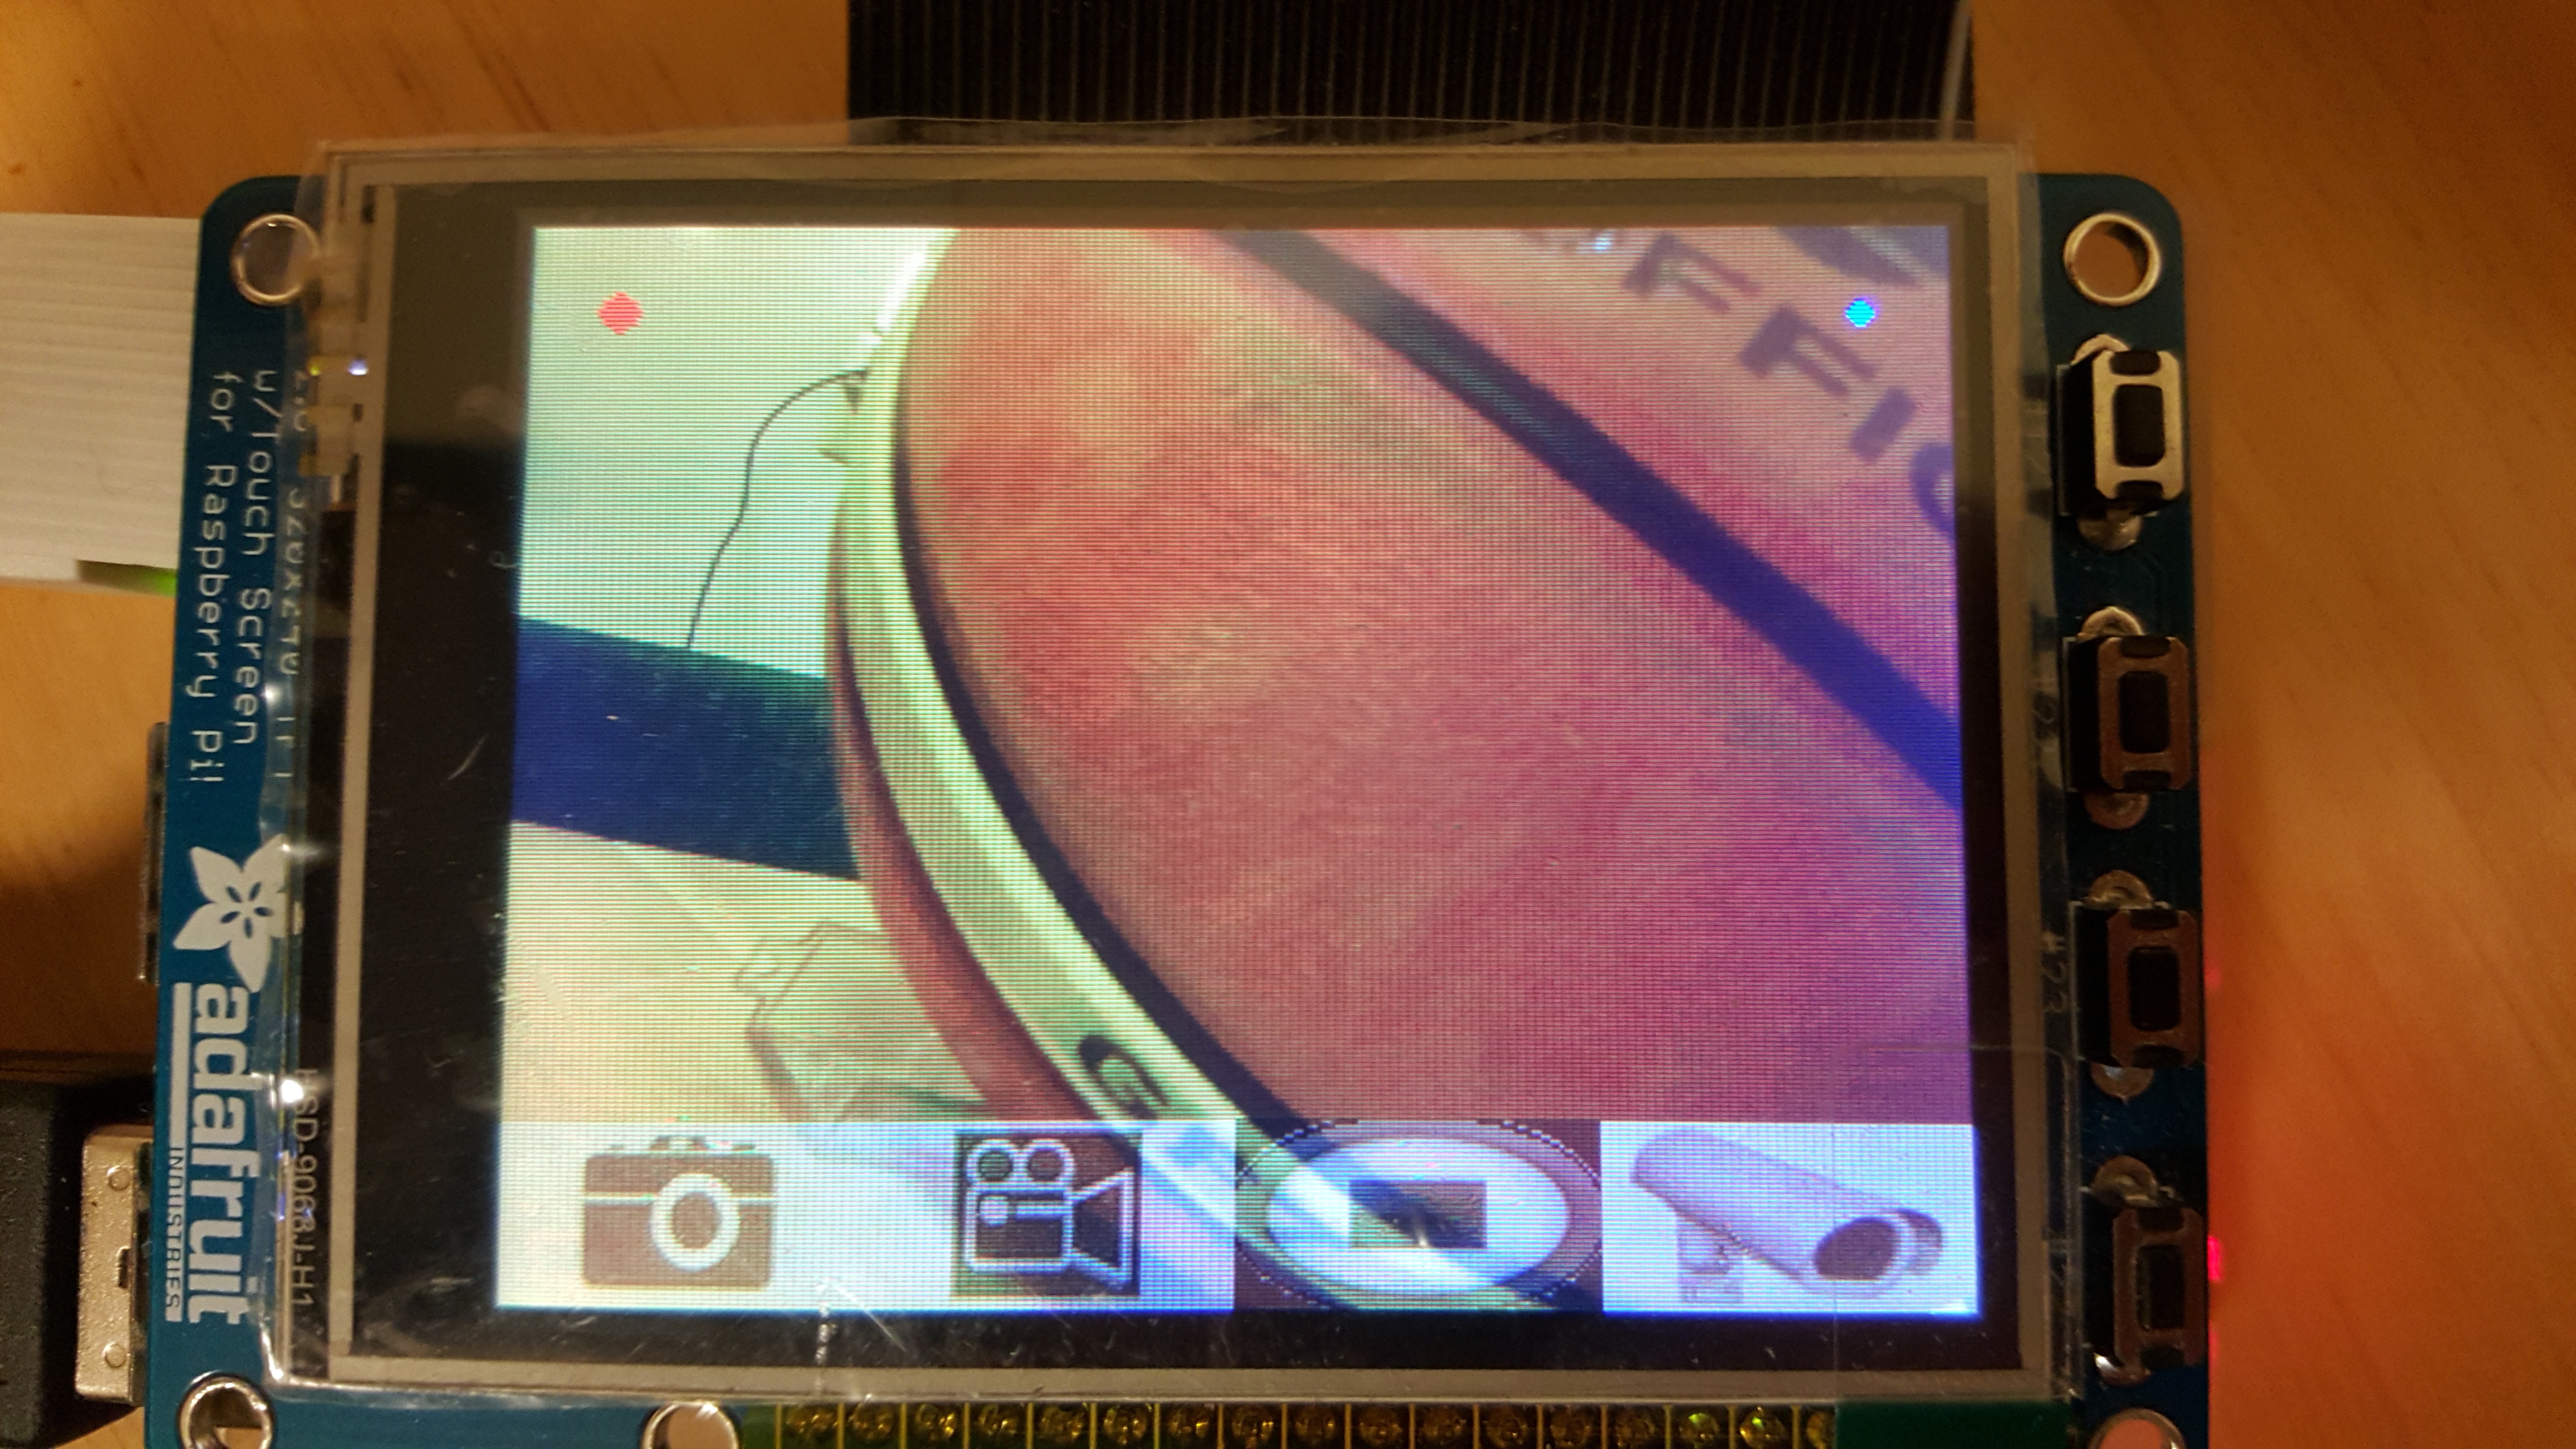
Mode 4: video mode Users can enter video mode from free viewing mode (mode 0). In this mode, the real time image would be shown on screen as in free viewing mode, but now users can record the video by two different methods- normal or only record when detecting object moving. During the video recording, there will be a red dot appearing at the top left side of screen. There are totally four buttons used. (from left to right)
The first button: return to free viewing mode (mode 0)
The second button: start to record the video, the red dot will appear after pressing
The third button: stop recording and save the record video.
The fourth button: turn on the recording mode for motion detection. A blue dot will show on the top right side of screen to remind this function is on.
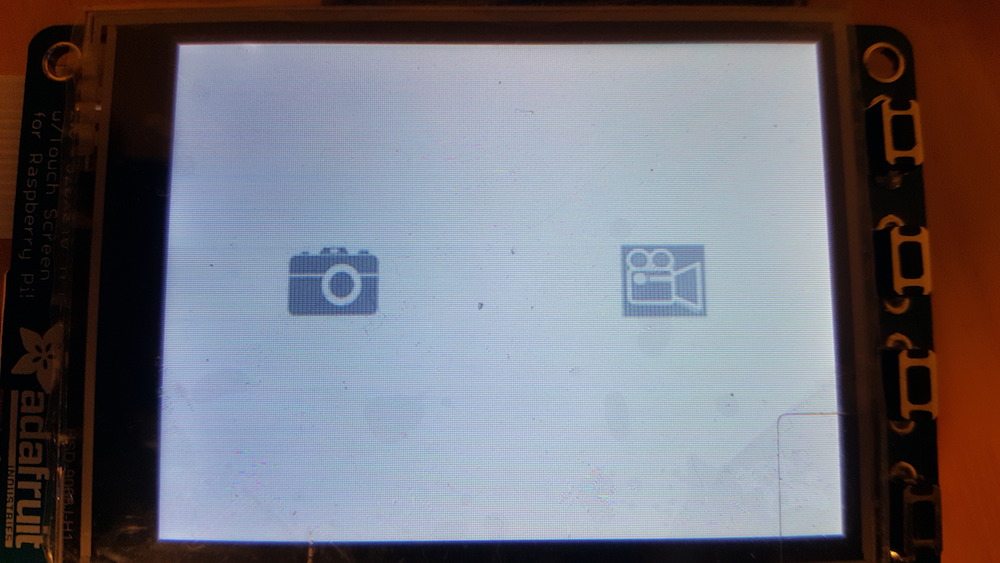
Mode 5: selection of album mode No photos are shown in this mode. User can only choose to enter photo album (mode 2) or video album (mode 6) by touching the left (photo) or right (video) side. There is only on button. The only button: return to free viewing mode (mode 0)
Mode 6: video album mode Like photo album mode, there are four videos shown on the screen in one time. User can directly touch the video they are interested in to delete or play it in video album single mode (mode 7). The previous and next page function are available as well. There are 3 buttons in this mode. (from left to right)
The first button: go to previous page
The second button: return to free viewing mode (mode 0)
The third button: go to next page
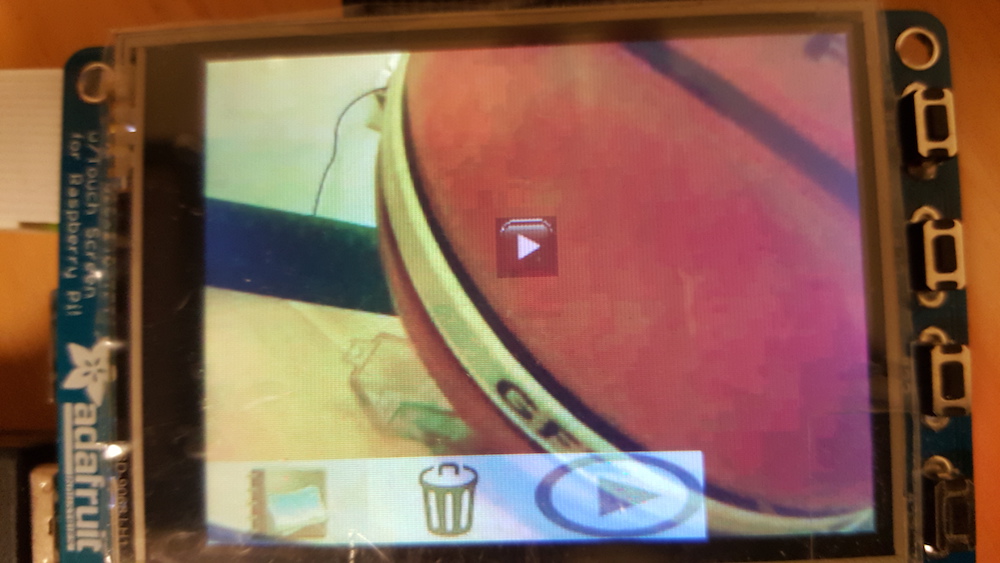
Mode 7: video album single mode After users choosing the interesting video, the system will enter to video album single mode. Here, the first image of video would be shown on the screen, and users can delete or start to play it. When the video is playing, user can interrupt the video at any moment via though the screen. Otherwise, the playing will not stop until it is over. There are 3 buttons available. (from left to right)
The first button: return to video album mode (mode 6)
The second button: delete this video and return to video album mode (mode 6)
The third button: start playing the video (still in mode 7)
Mode 8: processed image mode When users start the post image process in photo album single mode, the processed image would be shown in processed image mode. Then users can decide whether keeping this image or not. Thus there are two buttons here. (from left to right)
The first button: save processed image and return to photo album mode
The second button: delete this image and return to photo album mode