Solemate
A Project By
Adele Thompson and Abigail Varghese
Demonstration Video
Introduction
Our project idea originated from a semester's worth of missing our pets at home. Abigail has a dog named Tintin, and Adele has a bird named Luna. We had often discussed the possibilities of owning a pet on campus but it always came down to the fact that we would not have the time to properly care for one. This project aimed to help those who want a fun companion at home but are working too hard to be able to properly care for a dog on their schedule. We implemented this by using PWM signals to control the servo motors, OpenCV to operate the picamera, and an ultrasonic sensor that sends out pulses and times how long it takes to receive an echo back. We also included a barking sound that plays when the solemate cannot find its owner, which is implemented using a FIFO.
Project Objective:
- Build a robot that follows someone based on the color of their shoes.
- Use OpenCV to detect color on a picamera.
- Use PID control to create a smoothing effect for the motor control
- Use an ultrasonic sensor to detect distance to prevent collisions.
- Play barking recordings while the robot is searching for its owner.
- Show dog faces on the PiTFt to show emotions depending on if the owner is in sight or not.
Design
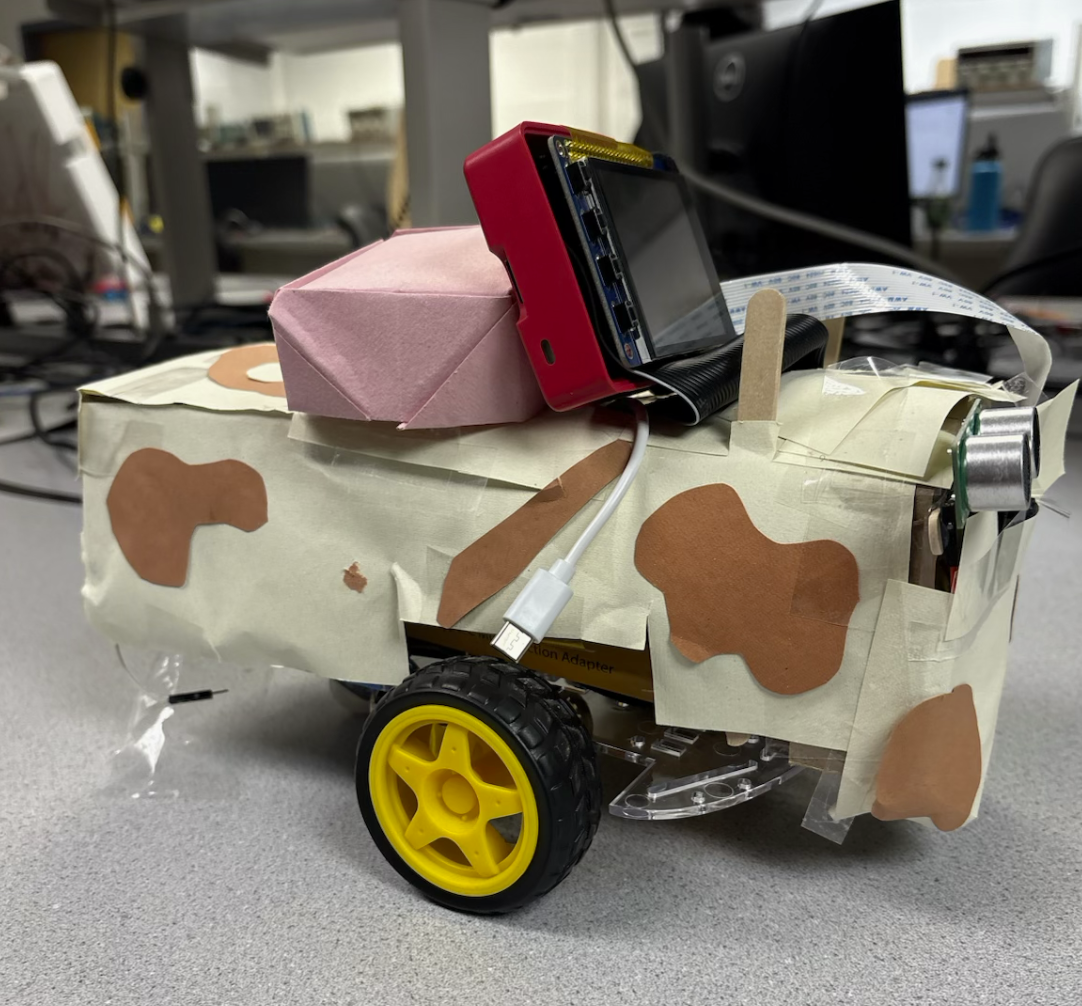
This project started as an inspiration to expand on the robot we built in Lab 3 which can be referenced below. We wanted to implement a way for the robot to see, react, and express itself like a pet. This translates to a robot that tracks a color through visual tracking and follows it but spins to look around when it loses sight of the target. We also wanted it to display emotions when the owner is in sight versus out of sight.
We began by expanding on our lab 3 implementation of the robot. We added the picamera first to test if we could have the camera to track a certain color. We used OpenCV for that implementation, which is a computer vision library that we used to process images that the camera views. We used it to detect the color yellow in each frame and display a green bounding box around it so we would know how well it was tracking the color in the frame. We chose the color yellow because it was not very common in our testing environment. This way, the camera would not be confused by other surrounding objects that we did not intend to be the target. To have the robot move towards the color it detects, we placed the camera in front and used the same PWM logic we used for lab 3, which was implemented with the PWMOutputDevice and DigitalOutputDevice from importing gpiozero to control the servo motors.
After making sure this worked at a base level, we started to implement PID control. To ensure smoother movement of the robot as the target changes location on the camera. We did not want the servo motors to be too jumpy when moving left and right. To implement PID control, we used the horizontal error between the center and edges of the frame as an input to the PID function. This allowed the PID parameters we tuned to output a change in speed of each motor to smoothly follow the target. As the error on the left became larger, the object was further left. This means the left wheel would have to smoothly slow down so the robot could pivot to the left more. The same logic was applied to pivot right as well. The central speed was 99 percent duty cycle(almost full speed) for the PWM, and the lowest speed of each of the motors was 30 percent duty cycle, because if it were slower than that, it would not be able to move the robot due to its weight.
Next, we implemented the ultrasonic sensor to detect when it has arrived at the target or if it is about to bump into anything else. We implemented the sensor by using the TRIG signal to send out a beacon that we listened back for with the ECHO pin. The sensor detects how long it takes to receive the signal back and calculate how far it is based on the time of the signal and the speed of sound. With these calculations constantly running, we simply set different conditions. If yellow is detected and the distance is below 16cm, then the object will back up until the object is far enough away again. If it detects yellow and is between 16cm and 25cm, then it will stop considering it has found the owner and is just waiting by them until they walk away again. Then, if it detects yellow and the owner is further than 25cm away, then it will start following the yellow with the PID control we implemented before. Now, if it doesn't detect yellow in frame and there are no objects within 16cm of it, then it will start spinning to look for the target. If it doesn't detect yellow and there is an object within 16cm, then it will back up and then start spinning. This way, if it runs into something, then it backs away before it starts spinning to avoid more collisions.
Then we implemented the sound. We decided to have the dog bark during the time it is spinning and looking for its owner. We had a recording of Abigail’s dog TintIn bark twice for one single recording. We used a fifo to have the sound play continuously during the time the robot would spin.
Finally we added pictures of an animated dogs face on the pitft screen. We used pigame to simply display a screenshot of us making a happy and sad face wth the apple Memoji dog. When the robot detects yellow and the owner is in sight the dog is happy. When the dog is spinning and barking it is a sad face.
To have all this code run on its own upon reboot we had to input a few lines at the bottom of our .bashrc file:
python /home/pi/final_project/bark_listener.py &
python /home/pi/final_project/bark_listener.py &
sleep 2
sudo python /home/pi/final_project/pic_and_bark.py &
The first line starts the file that runs the fifo script. This needs a second or two to start so we put in the sleep before starting our main code which is pic_and_bark.py. This way any time the system reboots or a new terminal is opened the bashrc script runs and automatically starts the system up.
Testing
To test our design as we went we first started small and built up to the full implementation. As said earlier, we started with the picamera and simply used a yellow object to make sure it was properly tracked on the screen. Then we created seperate files to implement the sensor and test with a ruler if the distance was properly being calculated and in a timely mannar. We then created a file to have the motors move forward when it saw yellow. Next we built off of the previous file so the control of the motors was smoother. This is where we implemented PID control. From here we added in the conditions of where the robot was relative to its surroundings. This meant usign teh sensor to detect distance from an object in front of it. From here we implemented sound in this file and then the piTFT images as well.
In order to test it incrimentally throughotu this process we mainly watched the wheels spin when propped up on the table so the robot doest move around. Then when it visually looked correct we would run it on the ground to check the less obvious problems. This was especially useful when tuning the PID parameters. It was hard to see the effects of each parameter unless the car ran. We ended up with a P parameter of 0.15 because the higher the P parameter it would become too sensitive and noisy with its movements. We also noticed a similar effect when the D parameter was too low. We ended up with D = 0.8. The effects of these parameters working together is clearer in the video but we were able to see less jittery motions with the motors and quic reaction to detection of the color yellow on the camera. Overall this project included losts of test runs and trial and error.
Result
Our main challenges arised when we started to implement PID control. We had tuned it for the car by itself without the speaker on it but the speaker added more weight and we had to adjust accordingly. We also had to increase the PWM signal because of this as well.
Another problem we encountered was with crontab. We were usign crontab to run our lab3 files on reboot but ran into bothers with this project. When using the picamera crontab would not properly load the file and just exit out instead of running on reboot. When we moved to bashrc the problem was fixed.
We originally thought we would implement a few animals as options, but when we had to implement PID control, which took more time than we anticipated so we stuck with a dog. Additionally, we tried to implement more animations on our PiTFT, such as a video of the Apple Memoji, however, using Pygame for animation or MPlayer for a video would lead to significant performance issues due to CPU constraints.
By the end of this project, we were able to achieve smooth, controlled movements by the wheels to pivot without sudden, sharp movements. We were able to track color using OpenCV on the picamera. We also used the ultrasonic sensor to keep track of the distance from other objects. We also included sound by using a FIFO to replay it in a loop. And lastly, we were able to display images on the piTFT per state of the robot. With this project, we discovered that it is important to consider weight when working with simple servo motors and to be careful to not overload the cpu by running too many continuous functions.
If we had more time to explore this, we could dive into a few possibilities. In the future, we could play more with the piTFT and have modes to pick different shoe colors. We could create different modes to have different animals, like a cat, bunny, turtle, etc.
Meet the Group!
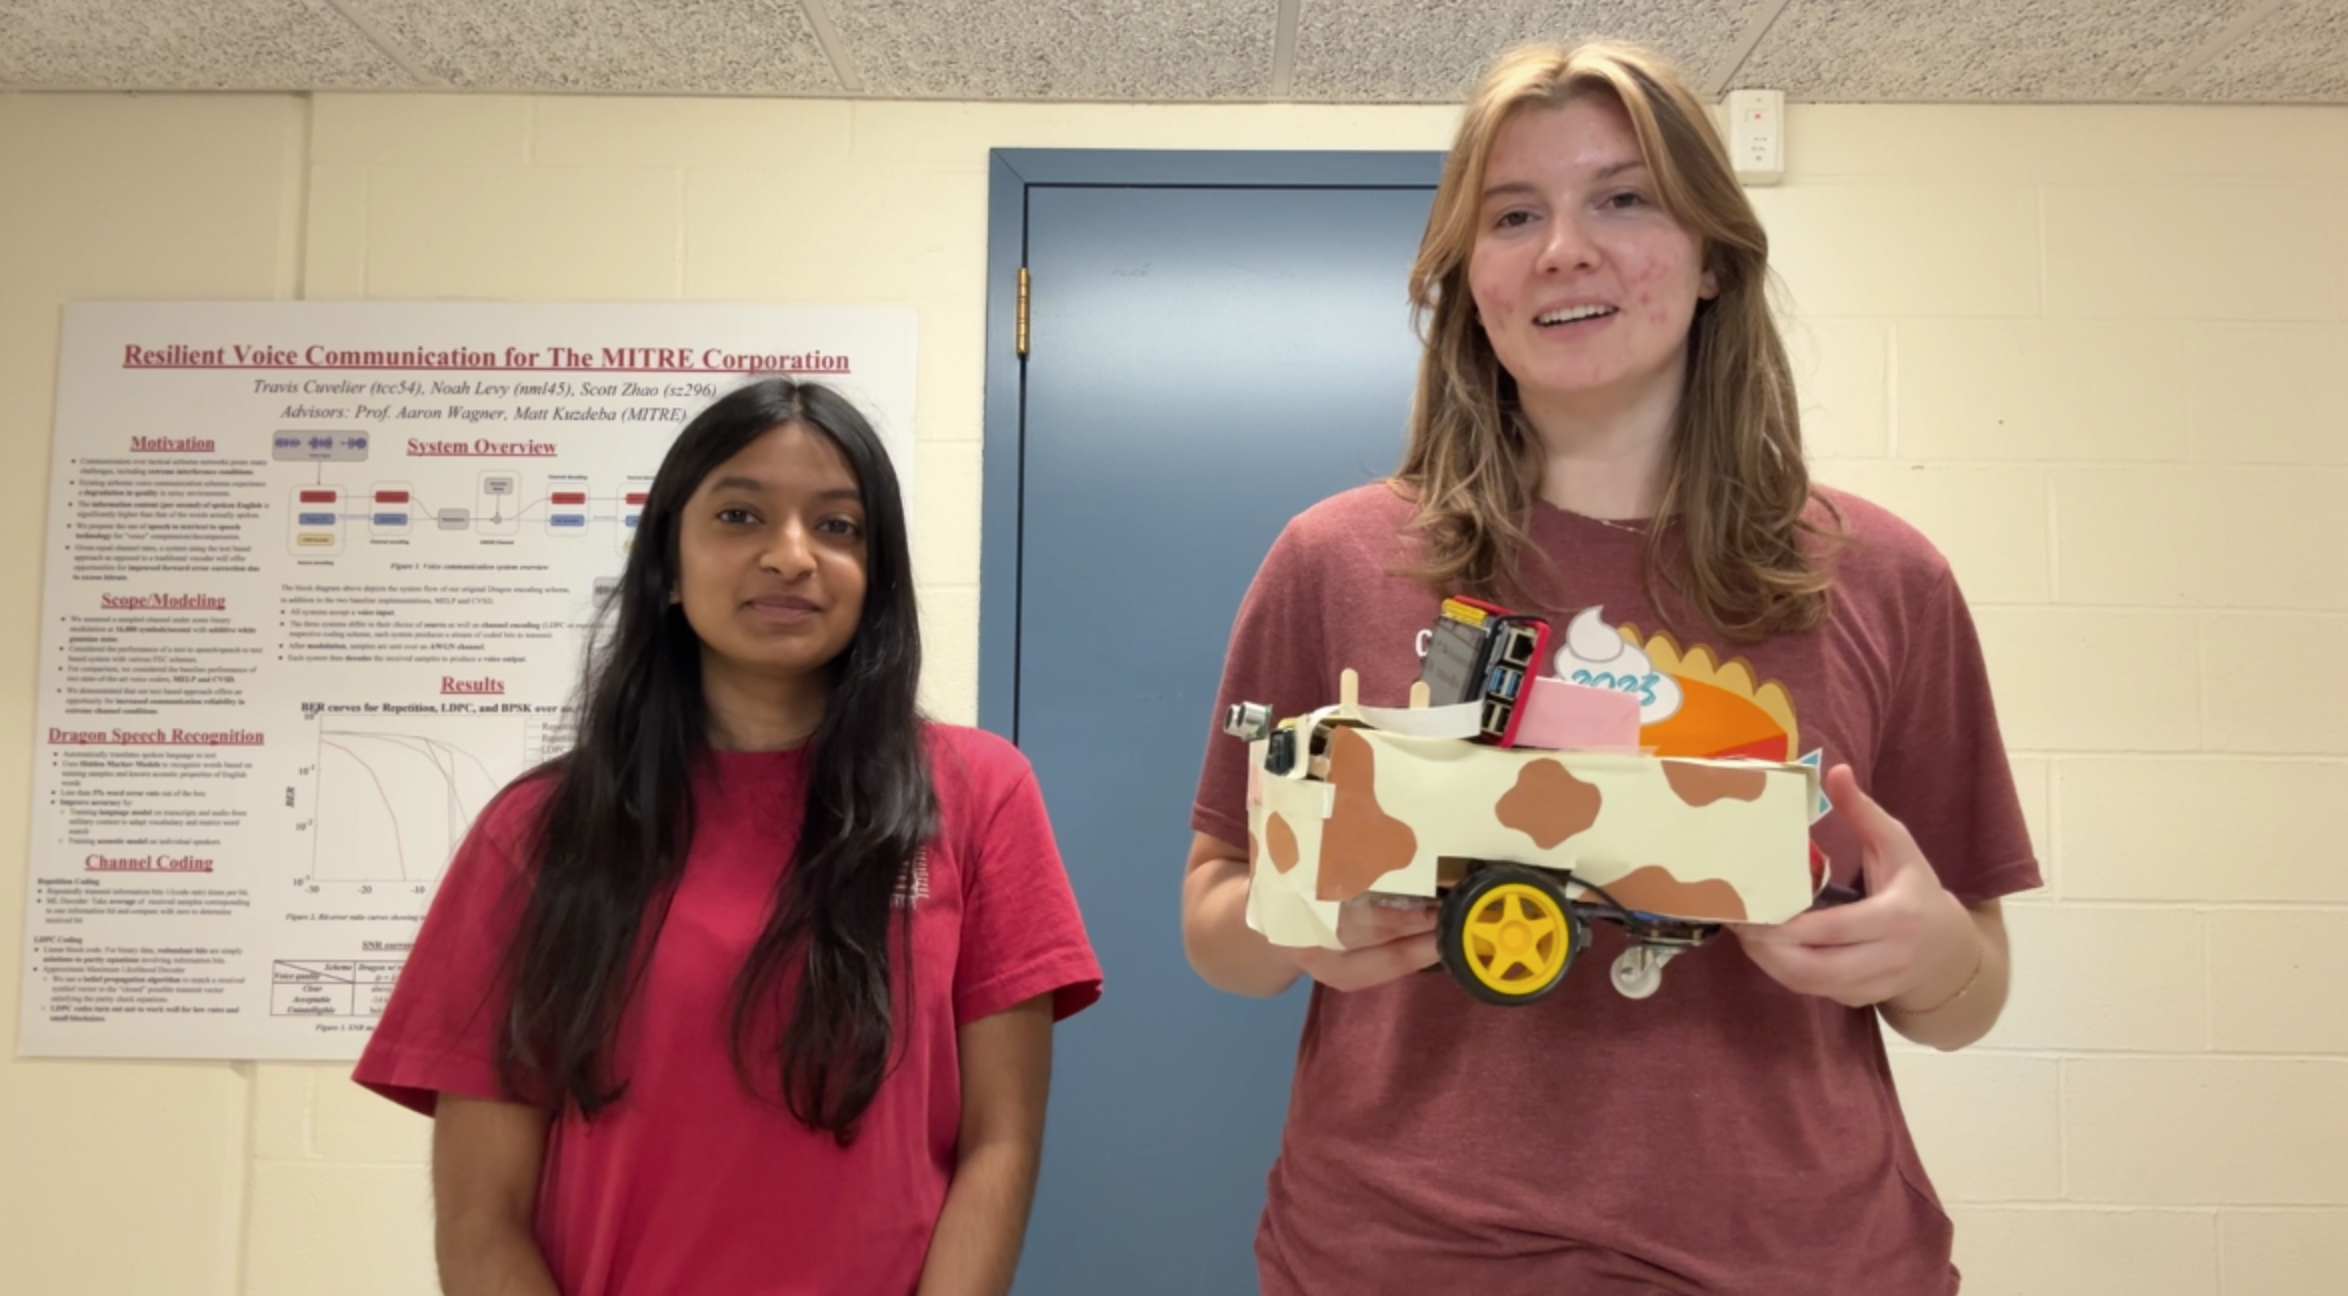
Group Photo
Tintin
Abigail Varghese
akv45@cornell.edu
Adele Thompson
amt263@cornell.edu
Parts List
- Raspberry pi - from lab
- Raspberry pi camera - from lab
- Ultrasonic sensor - from lab
- Jbl speaker - brought from home
- Breadboard/robot body - from Lab3
Total: $0.00
References
Tracking Robotic Car ProjectPi Distance Keeper
OpenCV
Color Detection
ECE5725 Spring25 Lab 1
ECE5725 Spring25 Lab 2
ECE5725 Spring25 Lab 3
Hunter Adams PID Control
Code Appendix
import os
  import subprocess
  import time
  import pygame
  from time import sleep
  import RPi.GPIO as GPIO
  import subprocess
  from gpiozero import PWMOutputDevice
  from gpiozero import DigitalOutputDevice
  GPIO.setmode(GPIO.BCM)
  #distance sensor
  TRIG = 17
  ECHO = 27

  import cv2
  import numpy as np
  from PIL import Image
  chan_list = [23]
  GPIO.setup(chan_list, GPIO.IN, pull_up_down=GPIO.PUD_UP)
  last_saw_yellow = True

  # Set environment variables for PiTFT
  os.putenv('SDL_VIDEODRIVER', 'fbcon')
  os.putenv('SDL_FBDEV', '/dev/fb0')
  os.putenv('SDL_MOUSEDRV', 'dummy')  # or 'TSLIB' if touchscreen is used
  os.putenv('SDL_MOUSEDEV', '/dev/input/touchscreen')
  #GPIO.setup(27, GPIO.IN, pull_up_down=GPIO.PUD_UP)
  os.putenv('DISPLAY','')

  fifo_path = "/home/pi/final_project/bark_trigger"

  #barks
  #pygame.mixer.init() #need to initalize pygame audio
  #bark = pygame.mixer.Sound('/home/pi/final_project/two_barks.wav')

  # Initialize Pygame
  pygame.init()
  pygame.mouse.set_visible(False)

  # Set up PiTFT screen
  screen = pygame.display.set_mode((320, 240))
  black = (0, 0, 0)

  happyDog = pygame.image.load("/home/pi/final_project/happy.png")
  sadDog = pygame.image.load("/home/pi/final_project/sad.png")

  happyDog = pygame.transform.scale(happyDog, (320, 240))
  sadDog = pygame.transform.scale(sadDog, (320, 240))

  # PID constants
  Kp = 0.1
  Ki = 0.0
  Kd = 0.3

  # PID memory
  pid_prev_error = 0
  pid_integral = 0


  def pid_function(error):
      global pid_prev_error, pid_integral

      pid_integral += error
      derivative = error - pid_prev_error

      output = Kp * error + Ki * pid_integral + Kd * derivative

      pid_prev_error = error

      return output

  def get_distance():
    GPIO.setup(TRIG, GPIO.OUT)
    GPIO.setup(ECHO, GPIO.IN)
    GPIO.output(TRIG, True)
    time.sleep (0.0001)
    GPIO.output(TRIG, False)
    while GPIO.input(ECHO) == 0:
      pulse_start = time.time()
      #if pulse_start - start_time > 0.05:
      #	return None
    while GPIO.input(ECHO) == 1:
      pulse_end = time.time()
    pulse_duration = pulse_end - pulse_start
    distance = (pulse_duration * 34300) / 2
    return distance

  #pi_hw = pigpio.pi()
  temp = 1

  driveLeft = PWMOutputDevice(16, True, 0 , 500)
  driveRight = PWMOutputDevice(26, True, 0,  500)

  def setLeftMotor(duty_cycle):
      # duty_cycle is 0-100 percent
      #pi_hw.hardware_PWM(12, 500, int(duty_cycle * 10000))  # 1 kHz PWM
      driveLeft.value = duty_cycle / 100


  def setRightMotor(duty_cycle):
      #pi_hw.hardware_PWM(18, 500, int(duty_cycle * 10000))  # 1 kHz PWM#CANOT USE PIN 21 FOR HARDWARE, MUST USE 13 OR 18 OR 12 OR 19
    driveRight.value = duty_cycle / 100


  #///////define motor driver GPIO Pins
  PWM_DRIVE_LEFT = 16   # ENA - Left motor speed (PWM)
  FORWARD_LEFT_PIN = 5  # IN1 - Left motor forward
  REVERSE_LEFT_PIN = 6  # IN2 - Left motor reverse

  PWM_DRIVE_RIGHT = 26  # ENB - Right motor speed (PWM)
  FORWARD_RIGHT_PIN = 13 # IN3 - Right motor forward
  REVERSE_RIGHT_PIN = 19 # IN4 - Right motor reverse


  #Initialize objects for H-Bridge digital GPIO pins
  forwardLeft = DigitalOutputDevice(FORWARD_LEFT_PIN)
  reverseLeft = DigitalOutputDevice(REVERSE_LEFT_PIN)
  forwardRight = DigitalOutputDevice(FORWARD_RIGHT_PIN)
  reverseRight = DigitalOutputDevice(REVERSE_RIGHT_PIN)

  global scaled_time
  scaled_time = 0

  def allStop():
    forwardLeft.value = False
    reverseLeft.value = False
    forwardRight.value = False
    reverseRight.value = False
    setLeftMotor(0)
    setRightMotor(0)


  def pivotRight():
    forwardLeft.value = True
    reverseLeft.value = False
    forwardRight.value = False
    reverseRight.value = True
    setLeftMotor(55) #50 percent duty cycle
    setRightMotor(0)

  print(cv2.__version__)

  cam = cv2.VideoCapture(0)

  def get_limits(color):
    c = np.uint8([[color]]) #inster bgr values that you want to convert to hsv
    hsvC = cv2.cvtColor(c, cv2.COLOR_BGR2HSV)

    lowerLimit = hsvC[0][0][0] - 10, 100, 100
    upperLimit = hsvC[0][0][0] + 10, 255, 255

    lowerLimit = np.array(lowerLimit, dtype=np.uint8)
    upperLimit = np.array(upperLimit, dtype=np.uint8)

    return lowerLimit, upperLimit

  count = 0
  yellow = [ 0 , 255, 255 ] # yellow in bgr color space
  purple = [ 240, 32, 160 ]
  temp = 1
  while temp:

    if (not GPIO.input(23)):
      print('Button 23 has been pressed')
      temp = 0
      break

    (ret,frame) = cam.read() #read fames from webcam

    #color detection
    hsvImage = cv2.cvtColor(frame, cv2.COLOR_BGR2HSV)
    lowerLimit, upperLimit = get_limits(color=yellow)


    mask = cv2.inRange(hsvImage, lowerLimit, upperLimit)

    mask_outline = Image.fromarray(mask)
    boundingbox = mask_outline.getbbox()
    distance = get_distance()

    print(boundingbox)

    if boundingbox is not None and distance is not None and distance > 25:
      x1, y1, x2, y2 = boundingbox

      frame = cv2.rectangle(frame, (x1, y1), (x2, y2), (0,255, 0), 5)#upper left corner then bottom right, then the color of bounding box then the thickness of bounding box

      frame_center = frame.shape[1] // 2
      object_center = (x1 + x2) // 2

      error = object_center - frame_center
      last_saw_yellow = True
      if abs(error) < 10 :
        correction = 0
      else:
        correction = pid_function(error)

      #distance error
      #distance = get_distance()
      #desired_distance_cm  = 20

      #print(f"Error: {error}, Correction: {correction}")


      base_speed = 100  # Base speed


      forwardLeft.value = True
      reverseLeft.value = False
      forwardRight.value = False
      reverseRight.value = True

      ##moving forward so happy
      screen.blit(happyDog, (0,0))
      pygame.display.update()

      print("error", error)
      print("correction", correction)
      if error > 0 :
        left_speed = base_speed + abs(correction)
        right_speed = base_speed - abs(correction)
        #print("left speed ", left_speed)
        #print("right speed",right_speed)
      elif error < 0:
        left_speed = base_speed - abs(correction)
        right_speed = base_speed + abs(correction)
      else:
        left_speed = base_speed
        right_speed = base_speed


      # Clamp speeds


      left_speed = max(min(left_speed, 99), 30)
      right_speed = max(min(right_speed, 99), 30)

      print("left speed ", left_speed)
      print("right speed",right_speed)

      setLeftMotor(left_speed)
      setRightMotor(right_speed)
    if boundingbox is not None and distance is not None and distance < 16:

      print("too close! backing up slowly!")
      forwardLeft.value = False
      reverseLeft.value = True
      forwardRight.value = True
      reverseRight.value = False
      last_saw_yellow = True
      setLeftMotor(70)
      setRightMotor(70)
      time.sleep(0.5)

    if boundingbox is not None and distance is not None and distance < 25 and distance > 16:

      forwardLeft.value = False
      reverseLeft.value = False
      forwardRight.value = False
      reverseRight.value = False
      last_saw_yellow = True
      setLeftMotor(0)
      setRightMotor(0)

      time.sleep(0.5)


    if boundingbox is None and distance < 16:
      #screen.blit(sadDog, (0,0))
      #pygame.display.update()
      #backup_start = time.time()
      #allStop() #stop because color is no longer detected
      forwardLeft.value = False
      reverseLeft.value = True
      forwardRight.value = True
      reverseRight.value = False
      last_saw_yellow = False
      setLeftMotor(70)
      setRightMotor(70)
      time.sleep(2)
      print("back up to get out of it")
      allStop()


    if boundingbox is None and distance > 16:
      screen.blit(sadDog, (0,0))
      pygame.display.update()
      pivotRight()

      if last_saw_yellow:

        print("just lost yellow start barking")
        try:
          print("trying to bark")
          #my_cmd_out = 'echo "bark" > /home/pi/final_project/bark_trigger'
          #subprocess.check_output(my_cmd_out, shell=True)
        #time.sleep(2)
          with open("/home/pi/final_project/bark_trigger", 'w') as fifo:
            fifo.write("bark\n")
            #time.sleep(3)

        except:
          print("cannot write to bark FIFO")
        last_saw_yellow = False
    #instead of using imshow like above we do this so it can display on the pitft
    frame_resized = cv2.resize(frame, (320, 240))
    frame_rgb = cv2.cvtColor(frame_resized, cv2.COLOR_BGR2RGB)
    frame_surface = pygame.surfarray.make_surface(np.rot90(frame_rgb))
    screen.fill(black)
    screen.blit(frame_surface, (0 , 0))


    if cv2.waitKey(1) & 0xFF == ord('q'):
      break

  cam.release()
  cv2.destroyAllWindows()


     #bark_listener,py
  import os
  import subprocess

  fifo_path = "/home/pi/final_project/bark_trigger"
  print("testing that calls fifo correctly")

  with open(fifo_path, "r") as fifo:
    while True:
      msg = fifo.readline().strip()
      if msg =="bark":
        print("start bark...")
        subprocess.run(["aplay", "/home/pi/final_project/two_barks.wav"])